Ragi skipped a generation in popularity. Though our educated parents knew how to make Ragi mudda, they didn’t think of it as a cool recipe for everyday meal. Education and jobs have moved them from villages to cities and old type of recipes was not fashionable to them anymore.
Recently there is a surge of pride in our agricultural products. I call it agricultural patriotism, elicited because, some evil global corporations (US based) which tried to claim patents on turmeric. If they had gotten these patents, no one except the company would have rights on this ancient agricultural product. numerous cases of this kind of attempts to steal the agricultural rights, virtues and history of ancient herbs and products, have surfaced in the recent past. People in countries like India stood steadfast to preserve their rights and they prevailed.
Okay… anyhow coming back to Ragi…
Like quinoa of South American indigenous people, Ragi also plays important part in the nutritional makeup of South India’s village populace. Unpretentious, basic and strength to body kind of food, rich in Calcium and iron, I love my ragi. Low in price, easy to make and versatile, the basic recipe can be adopted to suit any type of palate.
Here is the recipe of ragi mudda or sankati the way we make in our home.
Recipe:
(for two people, for one serving)
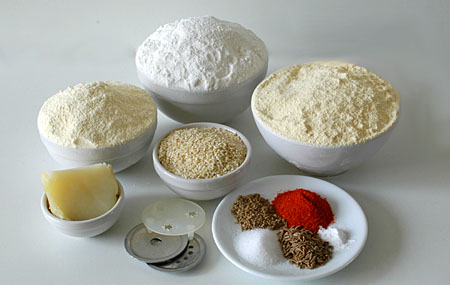
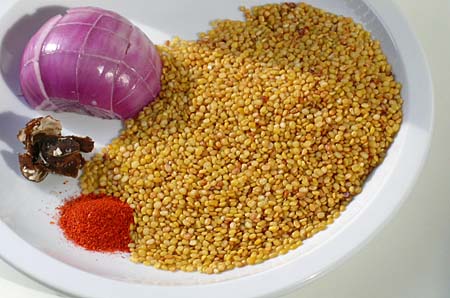
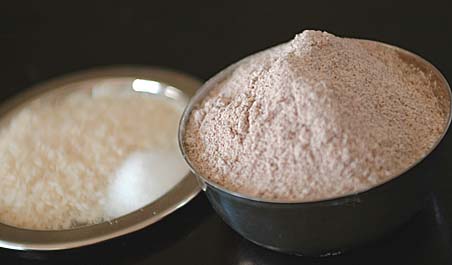
1 cup of ragi flour
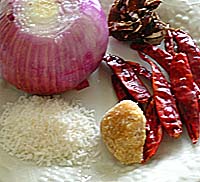
Fistful of rice
1/4 teaspoon of salt
4 cups of water
1 teaspoon of ghee
Preparation:
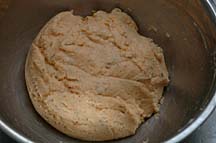
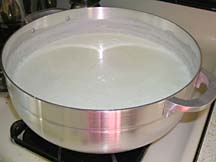
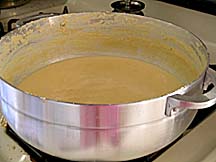
Take water and rice in a saucepan, add salt and bring to a boil. Cover and cook the rice until the grains are 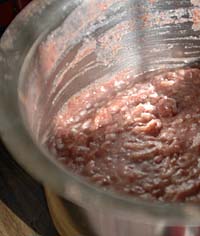 soft. When the rice is soft, add – just pour or dump ragi flour into the pot. Donot stir now, this is the way folks back at home cook. Cover and put this mixture on medium heat for few minutes until the steam lifts the plate covering the pan. Remove the cover. Using a wooden masher or whisk, stir the ragi-rice mixure vigorously and thoroughly until you see no lumps.
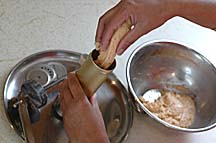
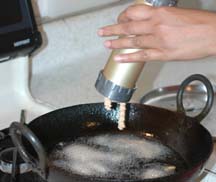
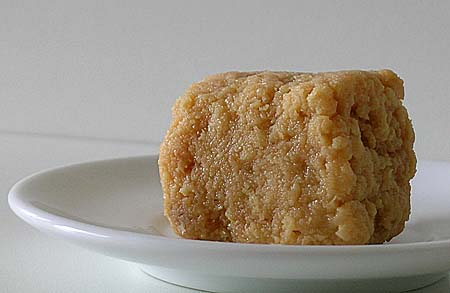
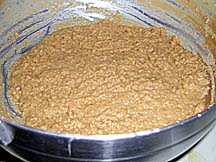
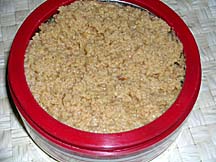
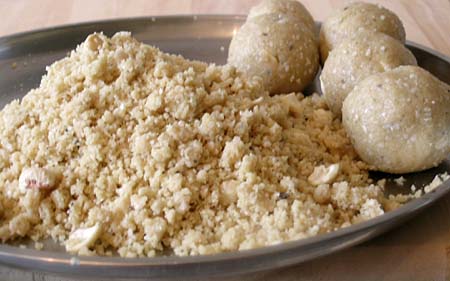
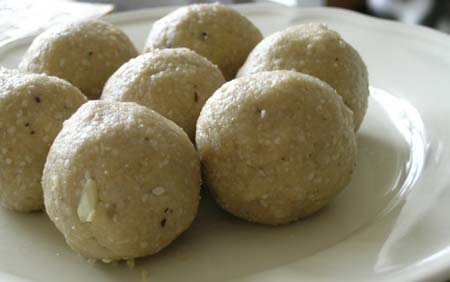
Reduce the heat to low, cover and let it steam cook for about 15 minutes. Switch off the heat. Let it cool down a little bit and make mudda or balls with it. Back home, they dip their hands in cool water first and then immediately take a portion of ragi and shape them into a ball, all done very fast. Here, I use an ice cream scooper to make round balls.
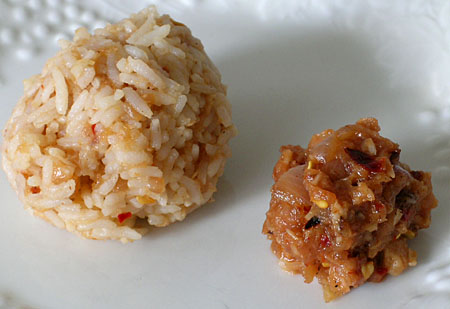
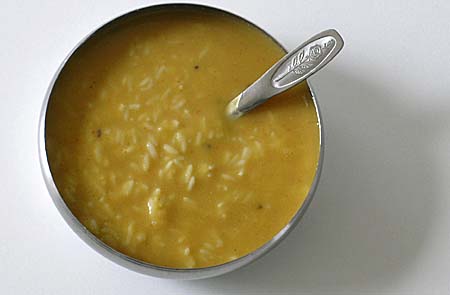
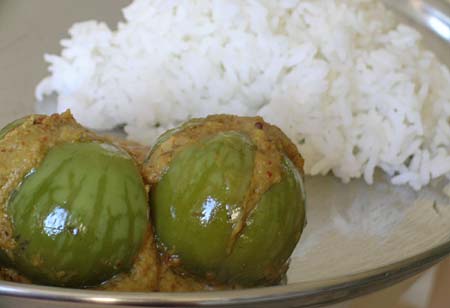
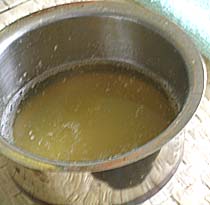
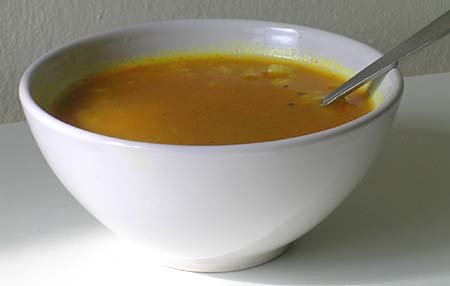
How it is served: Place the ragi mudda in a bowl and pour the sambhar over it. Not too cold and not too hot, just warm is perfect for the palate. Drizzle ghee over it. Today I made carrot sambhar for ragi mudda. It tastes quite good not only with sambhar and but also with peanut chutney, potato kurma or any other vegetable gravy curry. People in Telangana region of Andhra, are particularly fond of ragi mudda/sankati-chicken kurma combination.
How it is eaten: Using your hand or with a spoon, take small portions from the big ragi mudda, dip them into sambhar and swallow. Don’t use teeth; let the tongue do the work. Ragi can be incredibly gummy so traditionally the small balls are never bitten, they are just swallowed. Warm ragi mudda coated all around with sambhar… gives an incredible satisfaction. Children love this kind of food.
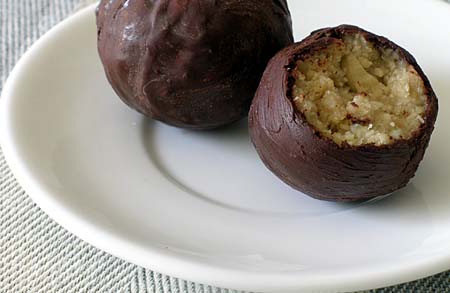
Variations: As I mentioned above, you can change the recipe to suit your taste just by changing or adding ingredients. Basic method of preparation is the same, but you can make it mildly sweet by adding jaggery or sugar. Or more rich by substituting the water with milk. You can also add one tablespoon of ghee while still cooking. Also add toasted and finely powdered cashews or peanuts to make it even richer.
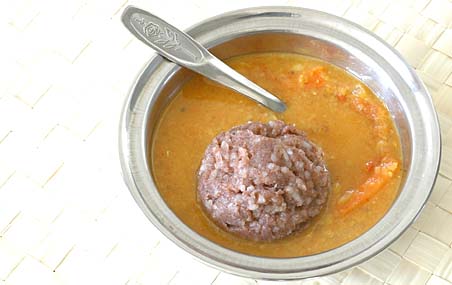
Ragi mudda or santaki in Carrot sambhar with ghee ~ Our meal today.
English translation of Ragi Mudda is – Ragi ball or porridge
Recipe Source: Attamma and Rajeswari – My mother in law and sister