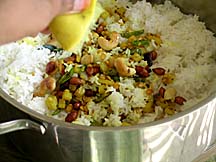
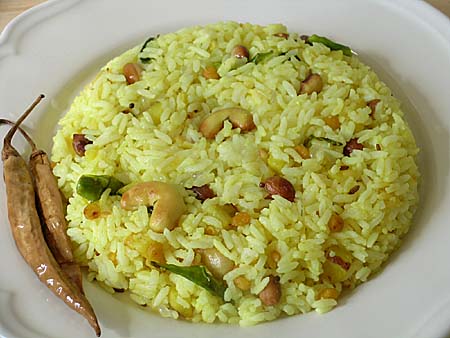
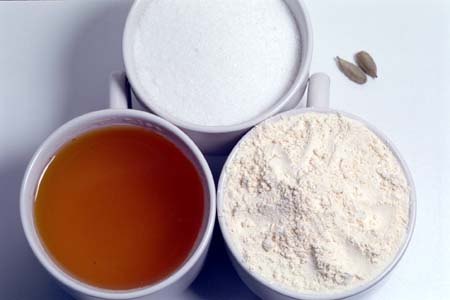
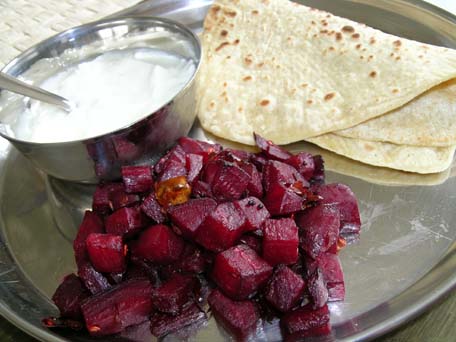
During festival times, the sugar of choice at our home for Naivedyam is jaggery.
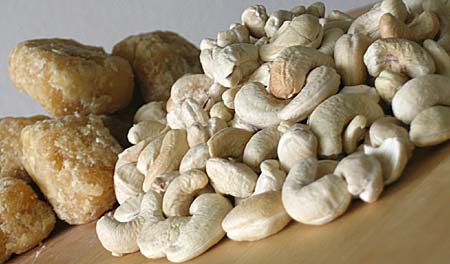
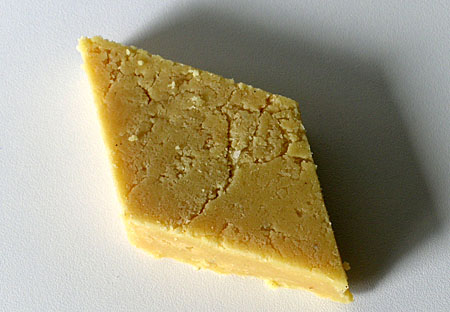
Jaggery – the pure, wholesome and traditional sweetener of India is made out of raw sugarcane juice by slowly simmering it in big pans until all the water is evaporated. The final solid product is then poured into moulds. The complete process is 100% chemical-free, prepared in natural way and no animal parts (bones) are used or added at any stage. This process is unlike the commercial sugar manufacturing, where cane juice is subjected to a potpourri of chemicals as sulfur dioxide, lime, phosphoric acid, bleaching agents & viscosity reducers.
How do I know all this? Well, some of our relatives cultivate sugarcane and produce jaggery in small scale. They do that in the fields after harvesting the sugarcane. It is quite an event with all the relatives and friends come to help and taste. The thing I always remember is the smell. The sweet smell of boiling sugarcane follows you forever.
It is the ancient wisdom and is now scientifically proven that jaggery is known for its many medicinal benefits. One thing I know is jaggery is rich in Iron. In India, people who know, even doctors advise anaemics and pregnant women to take jaggery daily to increase their hemoglobin levels.
What can I say about the taste of jaggery- there is always the sweet taste but there is something more. The taste is not a mind numbing sweetness but more subtle, much more flavorful and makes us want more. Its sweetness is quite different from that of commercial sugar, brown sugar or even molasses. Because it contains the minerals and vitamins inherently present in sugarcane juice.
In addition to using it for traditional sweets of festival times, like Undrallu, Jaggery is my sweetener of choice always, for ragi malt, vegetable curries, rasam, occasionally for tea & coffee. Compare to commercial sugar, it is not that expensive. You can buy a 10-pound block of jaggery for about 5 to 8 dollars in an Indian grocery shop, here in US.
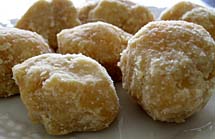
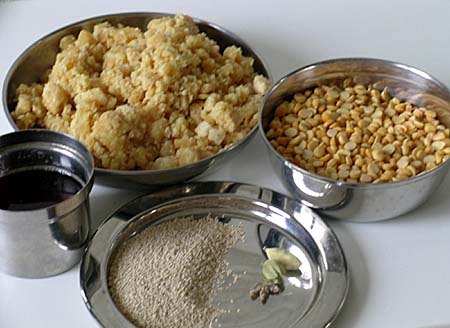
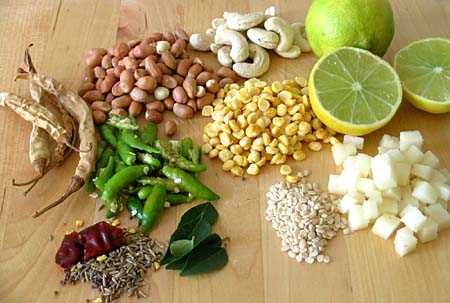
Jaggery from India
Vinayaka Chavati Festival Sweet – Undrallu
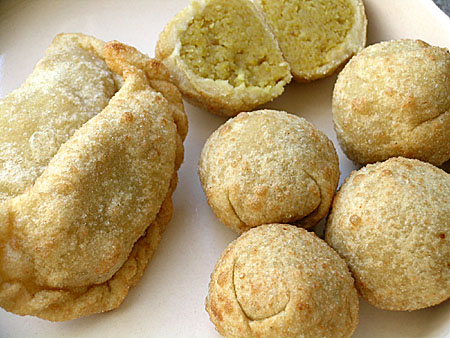
Undrallu is a sweet, especially prepared on Vinayaka Chavithi festival. They are made with jaggery and chana dal then wrapped in dough and deep-fried in oil or ghee. The tradition is we have to prepare 9 varieties of undrallu with different fillings for this festival. My mother prepares 9 varieties for puja whenever we girls visit home. She has a saint like patience and great time management. You see we have to prepare all varities on the day of festival, by afternoon while on fasting. At least the person who does the puja and cooking must be on fasting till the puja is done. Family members would taste the festival specials only after the puja and naivedyam are done. Our customs dictate that the first offerings on festivals and special occasions must be to God, a sign of respect.
Recipe:
(For two)
For Purnam:
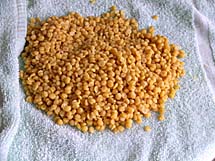
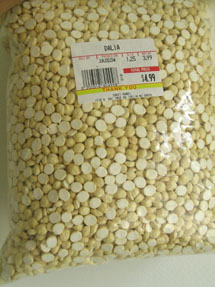
One cup – chana dal
One cup jaggery (pounded into tiny pieces)
6 cardamom pods, seeds separated and powdered
Wash chana dal and take them in a pressure cooker. Add the cardamom and about one cup water. Mix and pressure cook to 3 whistles, till the chana dal is firmly-soft. There should be no water left in pressure cooker. and we want a tight cooked chana dal. If there is excessive water, drain the dal using a colander and then spread the cooked dal on paper towels or on a cotton cloth to remove the moisture and to make them firm.
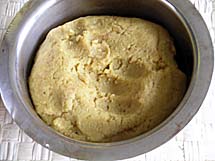
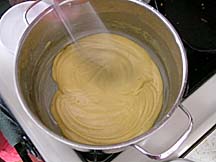
In a food processor (mixer), or in a stone mortar, take the cooked chana dal. Add jaggery and grind to smooth. The end product must be solid and it has to hold the shape. Make baby’s fist sized small rounds. My mother also dips the rounds in coconut gratings.
This is Purnam.
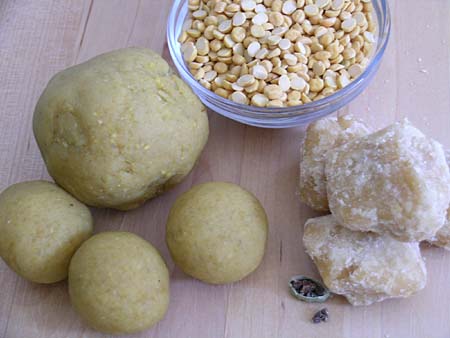
Chana Dal, Jaggery and Cardamom ~ Pressure-cooked, Mashed and Made to Small Rounds called Purnam
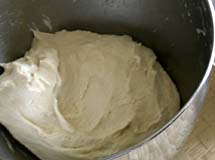
Preparing the Dough:
There are two kinds of wraps for the Purnam.
1. Urad dal and rice flour wrap called chovi. For it, take quarter cup of urad dal and soak them in water overnight. First thing in the morning, drain water and grind the dal in a blender to smooth adding very little water. Remove to a cup and half cup of rice flour. Mix them together thoroughly. Keep it covered for about 2 to 3 hours. This is called chovi. Purnam balls are dipped in this batter and fried in oil or ghee. Tasty and good.
2. Maida (all purpose flour) wrap: My mother’s method and I prefer this wrap.
Take one cup all-purpose flour (maida) in a bowl. Make a well in the center and add about half cup water. Mix and make a firm dough. Sprinkle about 2 tablespoons ghee and gently knead the dough, until it becomes very soft and pliable. Keep it covered for about 2 to 3 hours. Preparing the maida dough is the first thing I do in the kitchen on festival day morning.
When you are ready with purnam:
Take out and knead the dough again adding ghee for about 5 minutes.
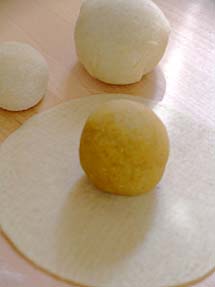
Divide the dough into marble sized rounds.
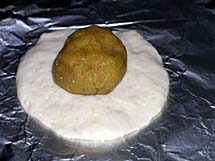
Roll out each one into a small round using a rolling pin or with hand, thin at the edges and thick in the middle.
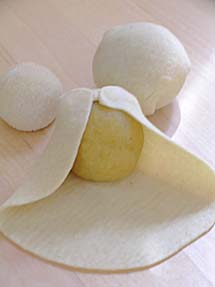
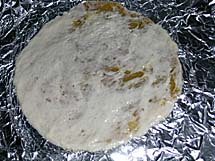
Place a lemon sized Purnam in the middle and cover it by bringing the edges together. Place them on a plate and cover with a wet cloth, to prevent drying out.
Repeat the procedure for all the dough rounds with the purnam.
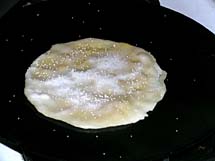
Once you are done, place a kadai on stove-top. Add and heat the oil or ghee for deep-frying.
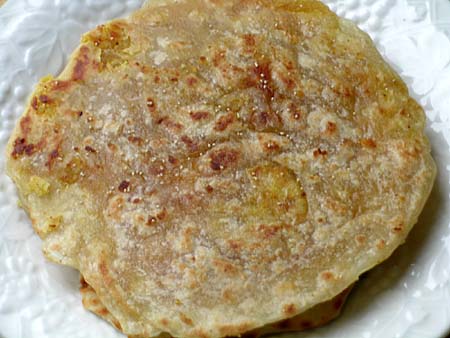
Gently drop the rounds and deep fry them to pale gold. Offer them to God first, then enjoy.
I prepared them in two shapes, the round ones are called undrallu, and the other two are called Kudumulu in Telugu.


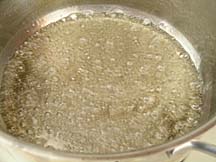
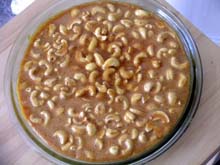 Stir, stir and stir until the jaggery syrup reaches
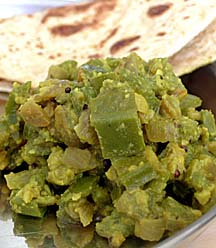
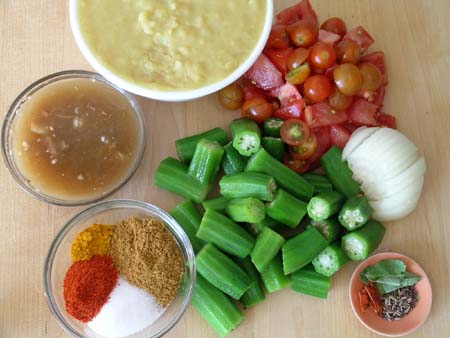
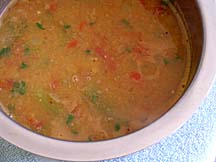
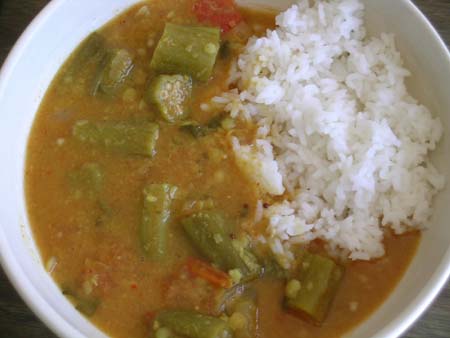
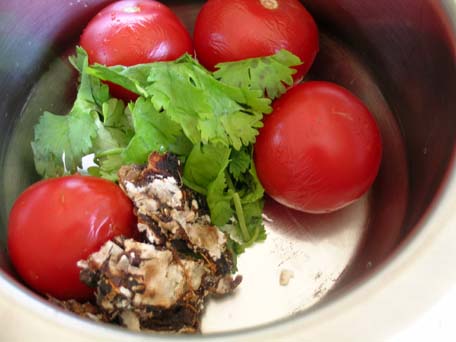
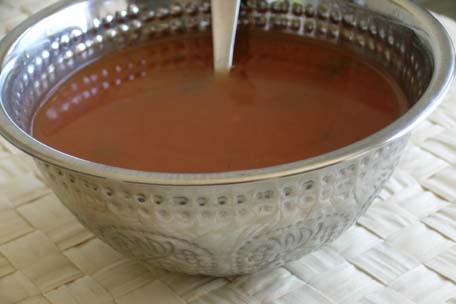
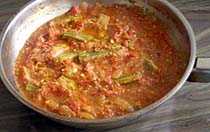 Add tomatoes and half cup of water. Cook them covered until the tomatoes soften and turn into juicy mush.


