“Okay, it’s my turn now”, I said.
“What is your turn for?” she said with a curious look on her face.
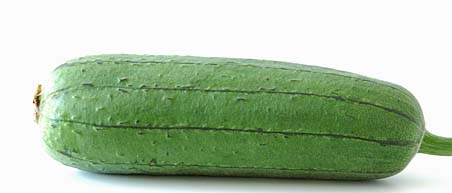
“I want to make chips with the plantains we bought yesterday. You just relax and wait for a tasty snack I’m going to make for you”. I said to her. But it wasn’t just for her. It was for me too. I like plantain chips very much. But, I don’t get very good quality chips here. So, whenever I could find good quality plantains, I prepare the chips myself.
Making of plantain chips in-house started few years ago, when we were in Houston. We have a good friend, Sunil Sukumaran, who is a Keralite. I knew that plantain chips were popular snack food in Kerala and I always wondered how they were made. I thought that there would be some special process to make them, because they were different, tasted good and had a special flavor. During one of our visits to their house, I asked my friend Sunil.
“Sunil, do you know how these plantain chips are made? I like them a lot, they are really tasty.” I expected a very long answer. I will tell you the truth. I was getting ready to note down the details on a sheet of paper. But his answer surprised me. Just one sentence!
“Pick unripe plantains. Slice them into thin rounds and deep fry them in oil.”
“That’s all?!” I didn’t believe it.
“That’s all there to it, man. What more you want to do? That’s how we make them back home in Kerala. We use coconut oil to fry them, but you can also use peanut oil.”
You don’t know how much relieved I was. Oh, I can make my favorite snack food right in my home. That’s fantastic.
Houston is a very lively city with all kinds of people from all over the world. Also a great place to get all kinds of food and vegetables. Most importantly (for me), I could get four fresh plantains for a dollar! How nice! Bought four of them and brought them home. Washed them thoroughly and scraped the outer skin lightly. I didn’t remove the skin completely. Cut them into circular chips. In the meantime, I had a big cast iron frying pan with peanut oil heating on the stove. When the oil reached proper temperature for frying, I dropped the chips in oil. One after the other, I filled the pan until the whole oil surface was covered by the chips. Reduced the heat to medium-high, and fried them for about three or four minutes. I turned the chips in the pan occasionally to make sure that both sides are properly fried.
I was very happy. Why? I just made the first batch of plantain chips myself. They looked just like the chips I was used to buy in Kerala bakeries. I sprinkled little bit of salt and they were ready to eat. I thanked my friend in my heart for sharing the great secret with me.
Now, coming back to Boardman, Ohio, there I was making the chips again, for Indira (and myself too). A full bowl of chips were ready in just few minutes and they also disappeared in just few minutes. But, I was quick enough to take some pictures to share with you. Here they are, tasty and crunchy, homemade plantain chips.
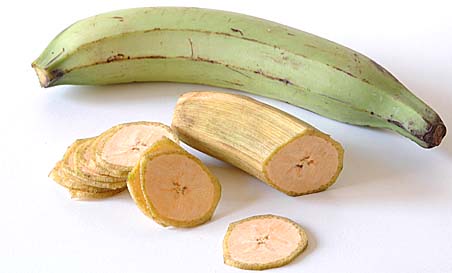
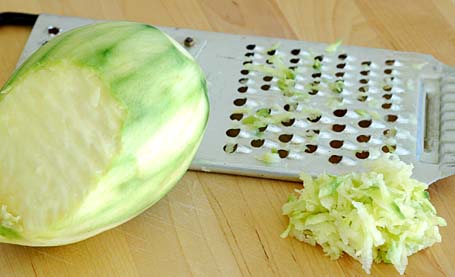
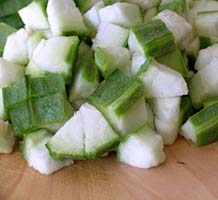
Plantain with outer skin scraped and sliced into thin round chips
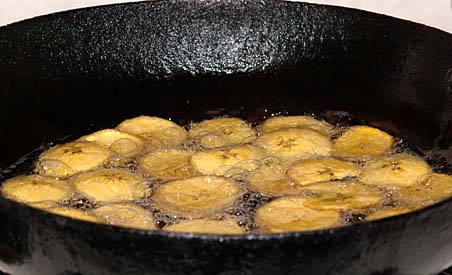
Deep-frying Plantain Chips in Peanut Oil
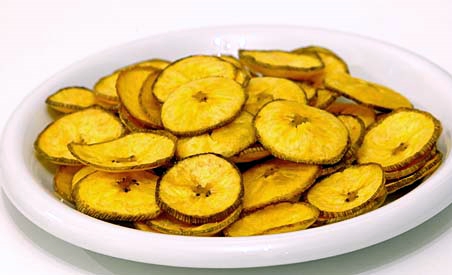
Homemade Plantain Chips
–Guest post by Vijay Singari